Those I drag to battlefields will recall my continuous map checks, which start off with me yelling “Map Check!” each time we get out of the car. I unfold my Trailhead Graphics map and throw it on the hood. From there, I talk about where we were, where we are, and what happened on the field. For a new visitor to any battlefield, this is tremendously helpful, as they can get lost with the larger encounters.
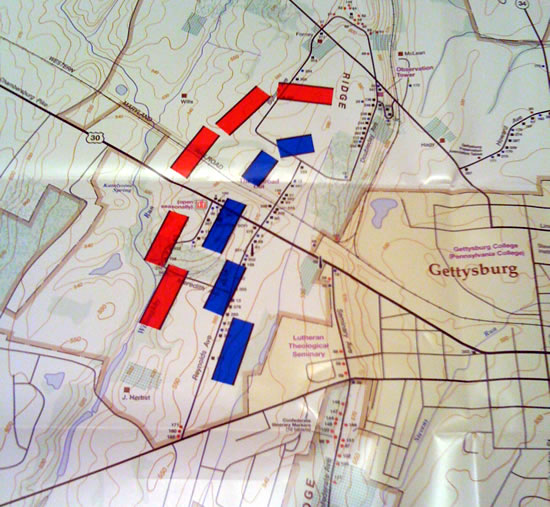
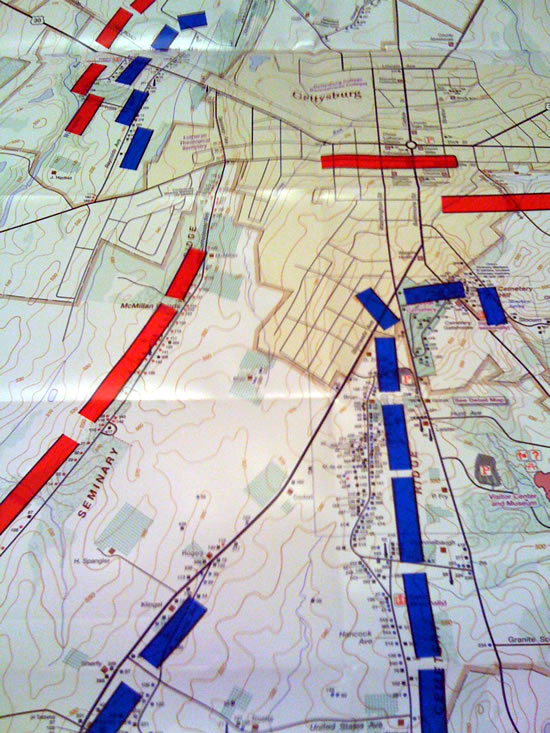
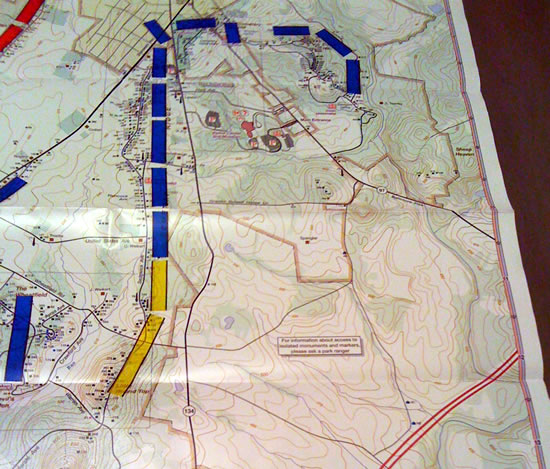
At some point last year, I felt my Gettysburg map needed some modifications. Although the map was extremely helpful, my simple pointing and hand motions were not cutting it to make sure visitors understood the positions of various troops. So I took a pack of Post-it flags, cut off the pointy tips, and customized my map.

A multiday battle like Gettysburg is difficult to depict on a single map. As a result, I only fold out the top when viewing day one action and then fold out of the bottom when discussing day two. By the time we get to day three, folks have a firm grasp of the Union and Confederate positions on Seminary and Cemetery Ridge.

The red and blue are obviously for Confederate and Union positions. Yellow represents where Sickles should have placed his corps before his “misunderstanding” on day two.

If you have the patience, I recommend doing the same for any of your maps. It will make the tour much smoother and ultimately, help visitors grasp the battle more effectively.
